
Pledgely Forms · walkthrough
Build and publish your first form
Recorded against Pledgely Forms 0.1.0-5 · July 2026
This walkthrough includes a full video for customers: sign in to watch.
Pledgely Forms stores submissions and the records they create in Salesforce. Pledgely keeps no separate copy and has no standing access to your org. This walkthrough takes you from a blank canvas to a live public form your visitors can submit without logging in.
Step 1: Create a form in the builder
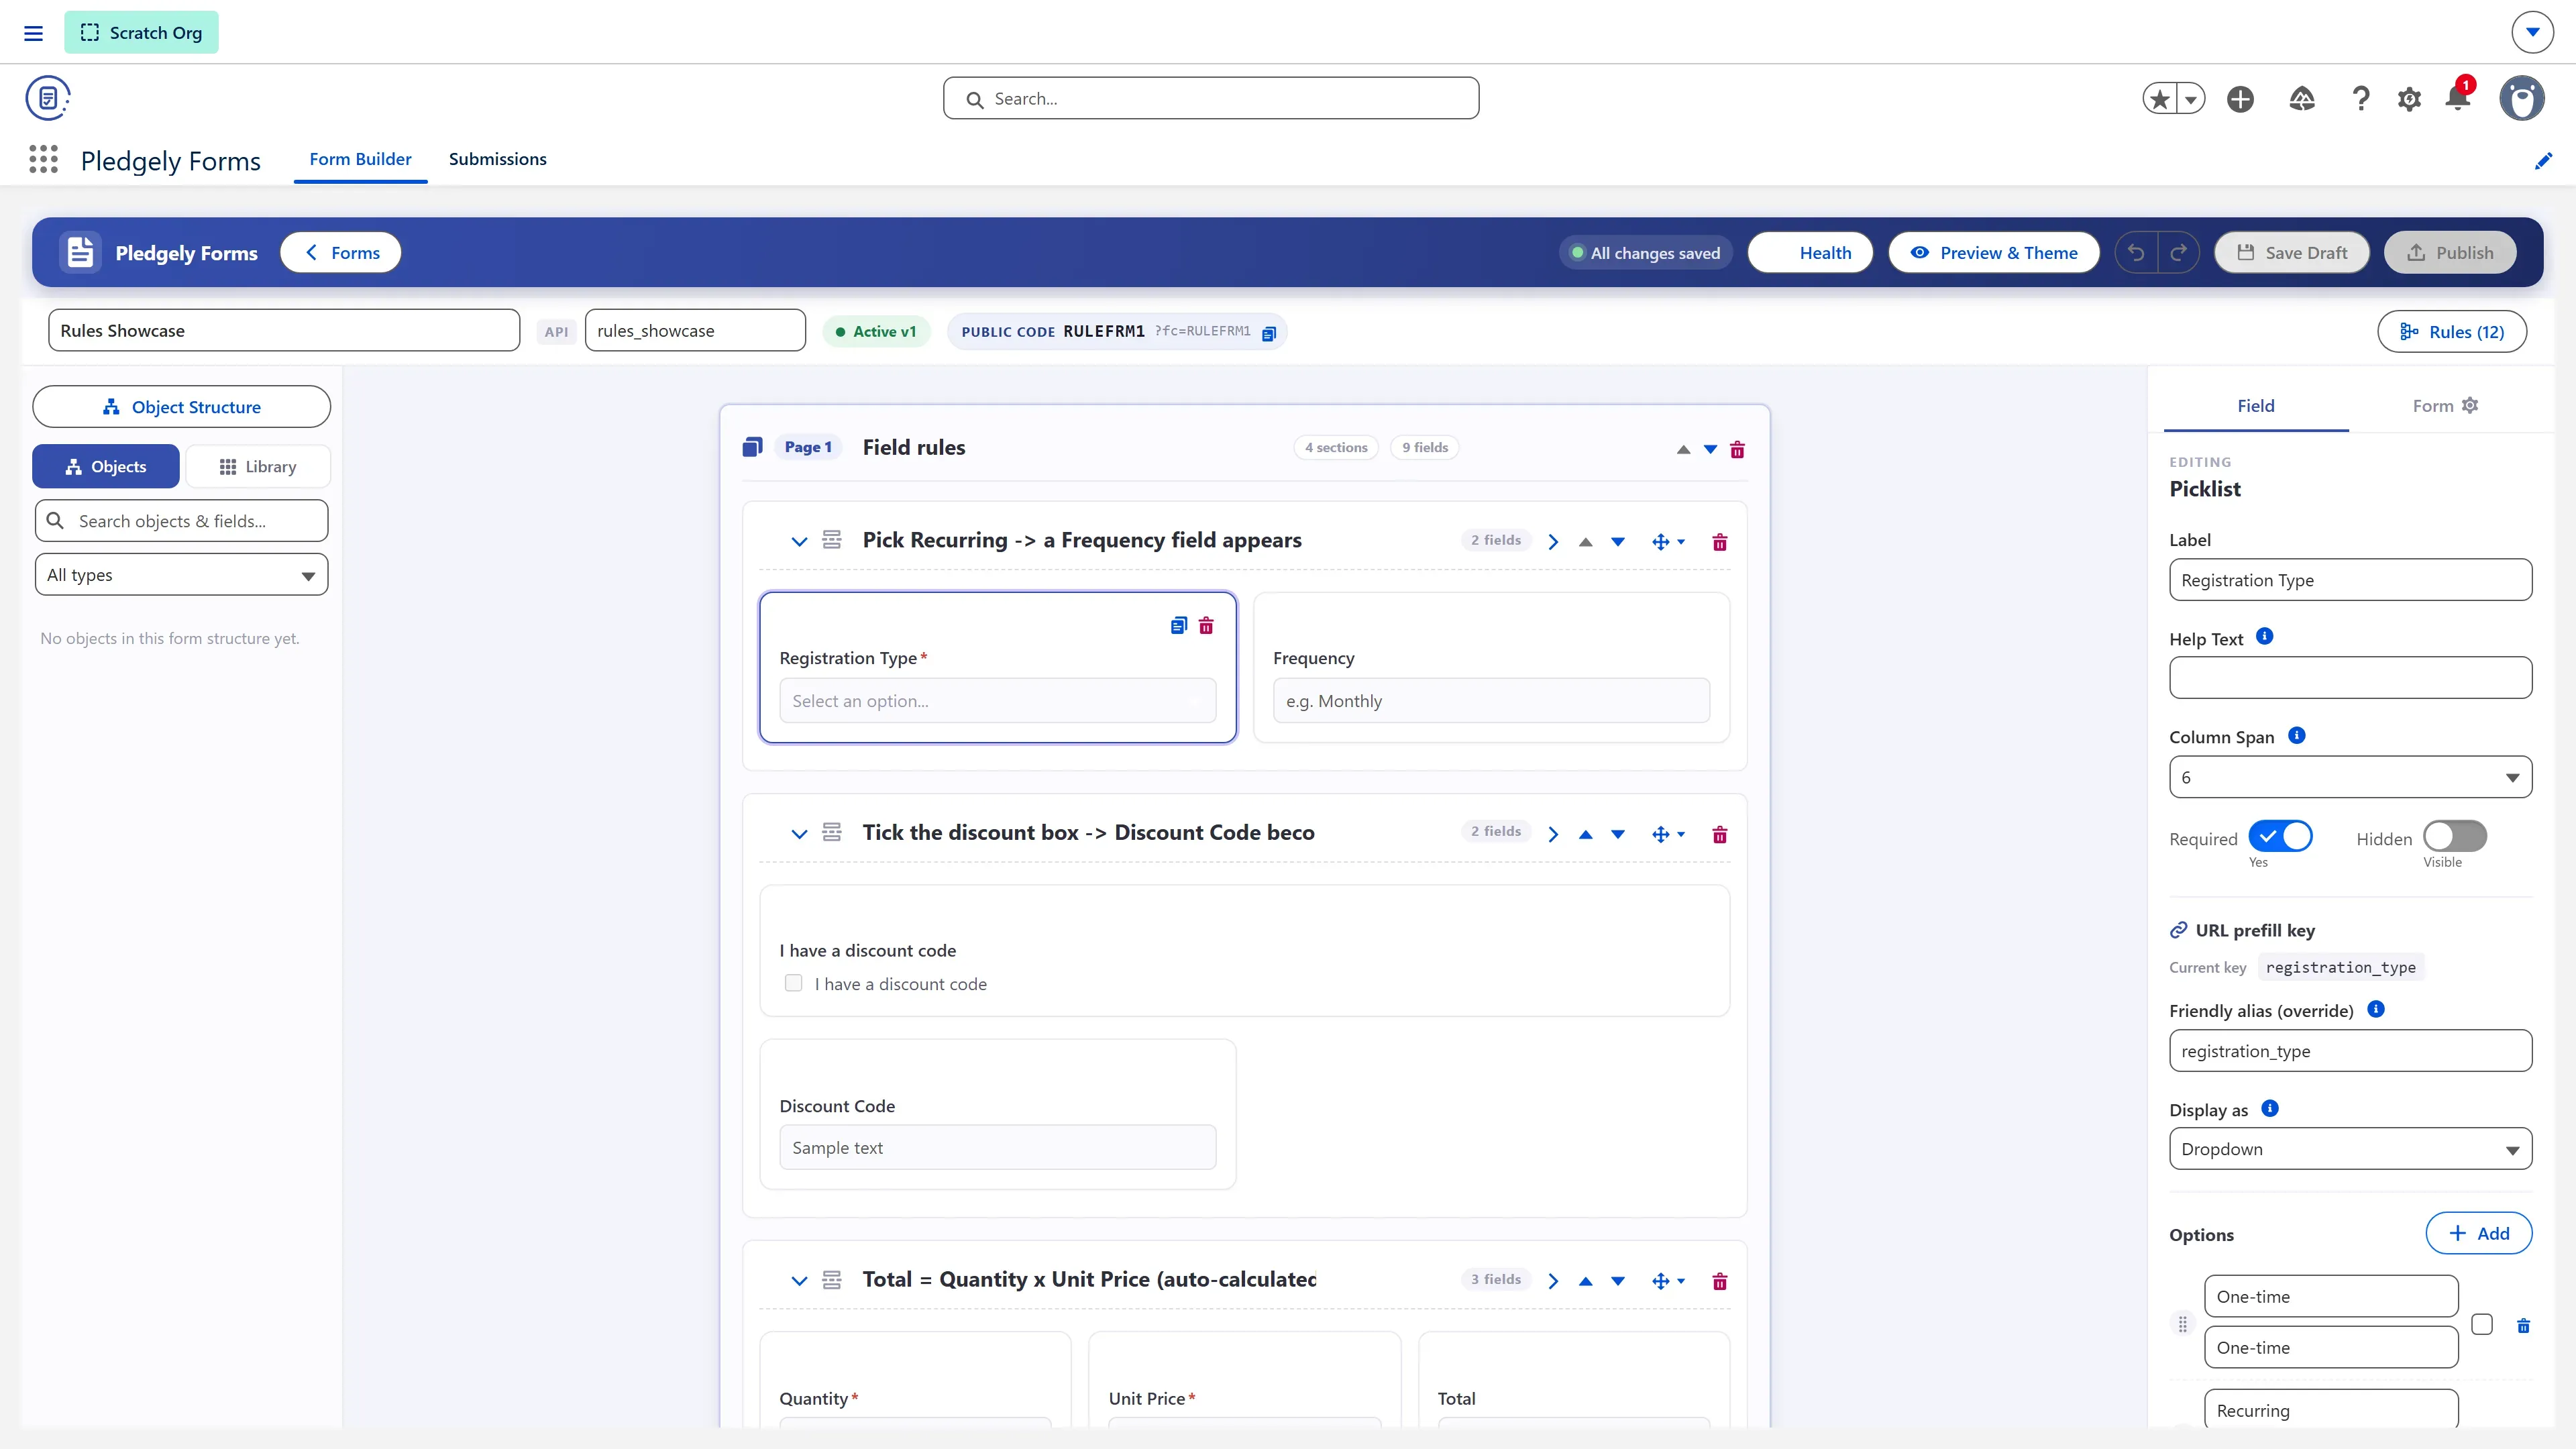
Open the Pledgely Forms app and click New Form. The builder gives you a field palette on the left (every field from the Salesforce objects you choose, plus a generic library), a 12-column canvas in the middle, and an inspector on the right. Drag fields onto the canvas, group them with sections and headings, and split long forms into pages. Everything you see is a draft until you publish.
Step 2: Map fields to Salesforce records
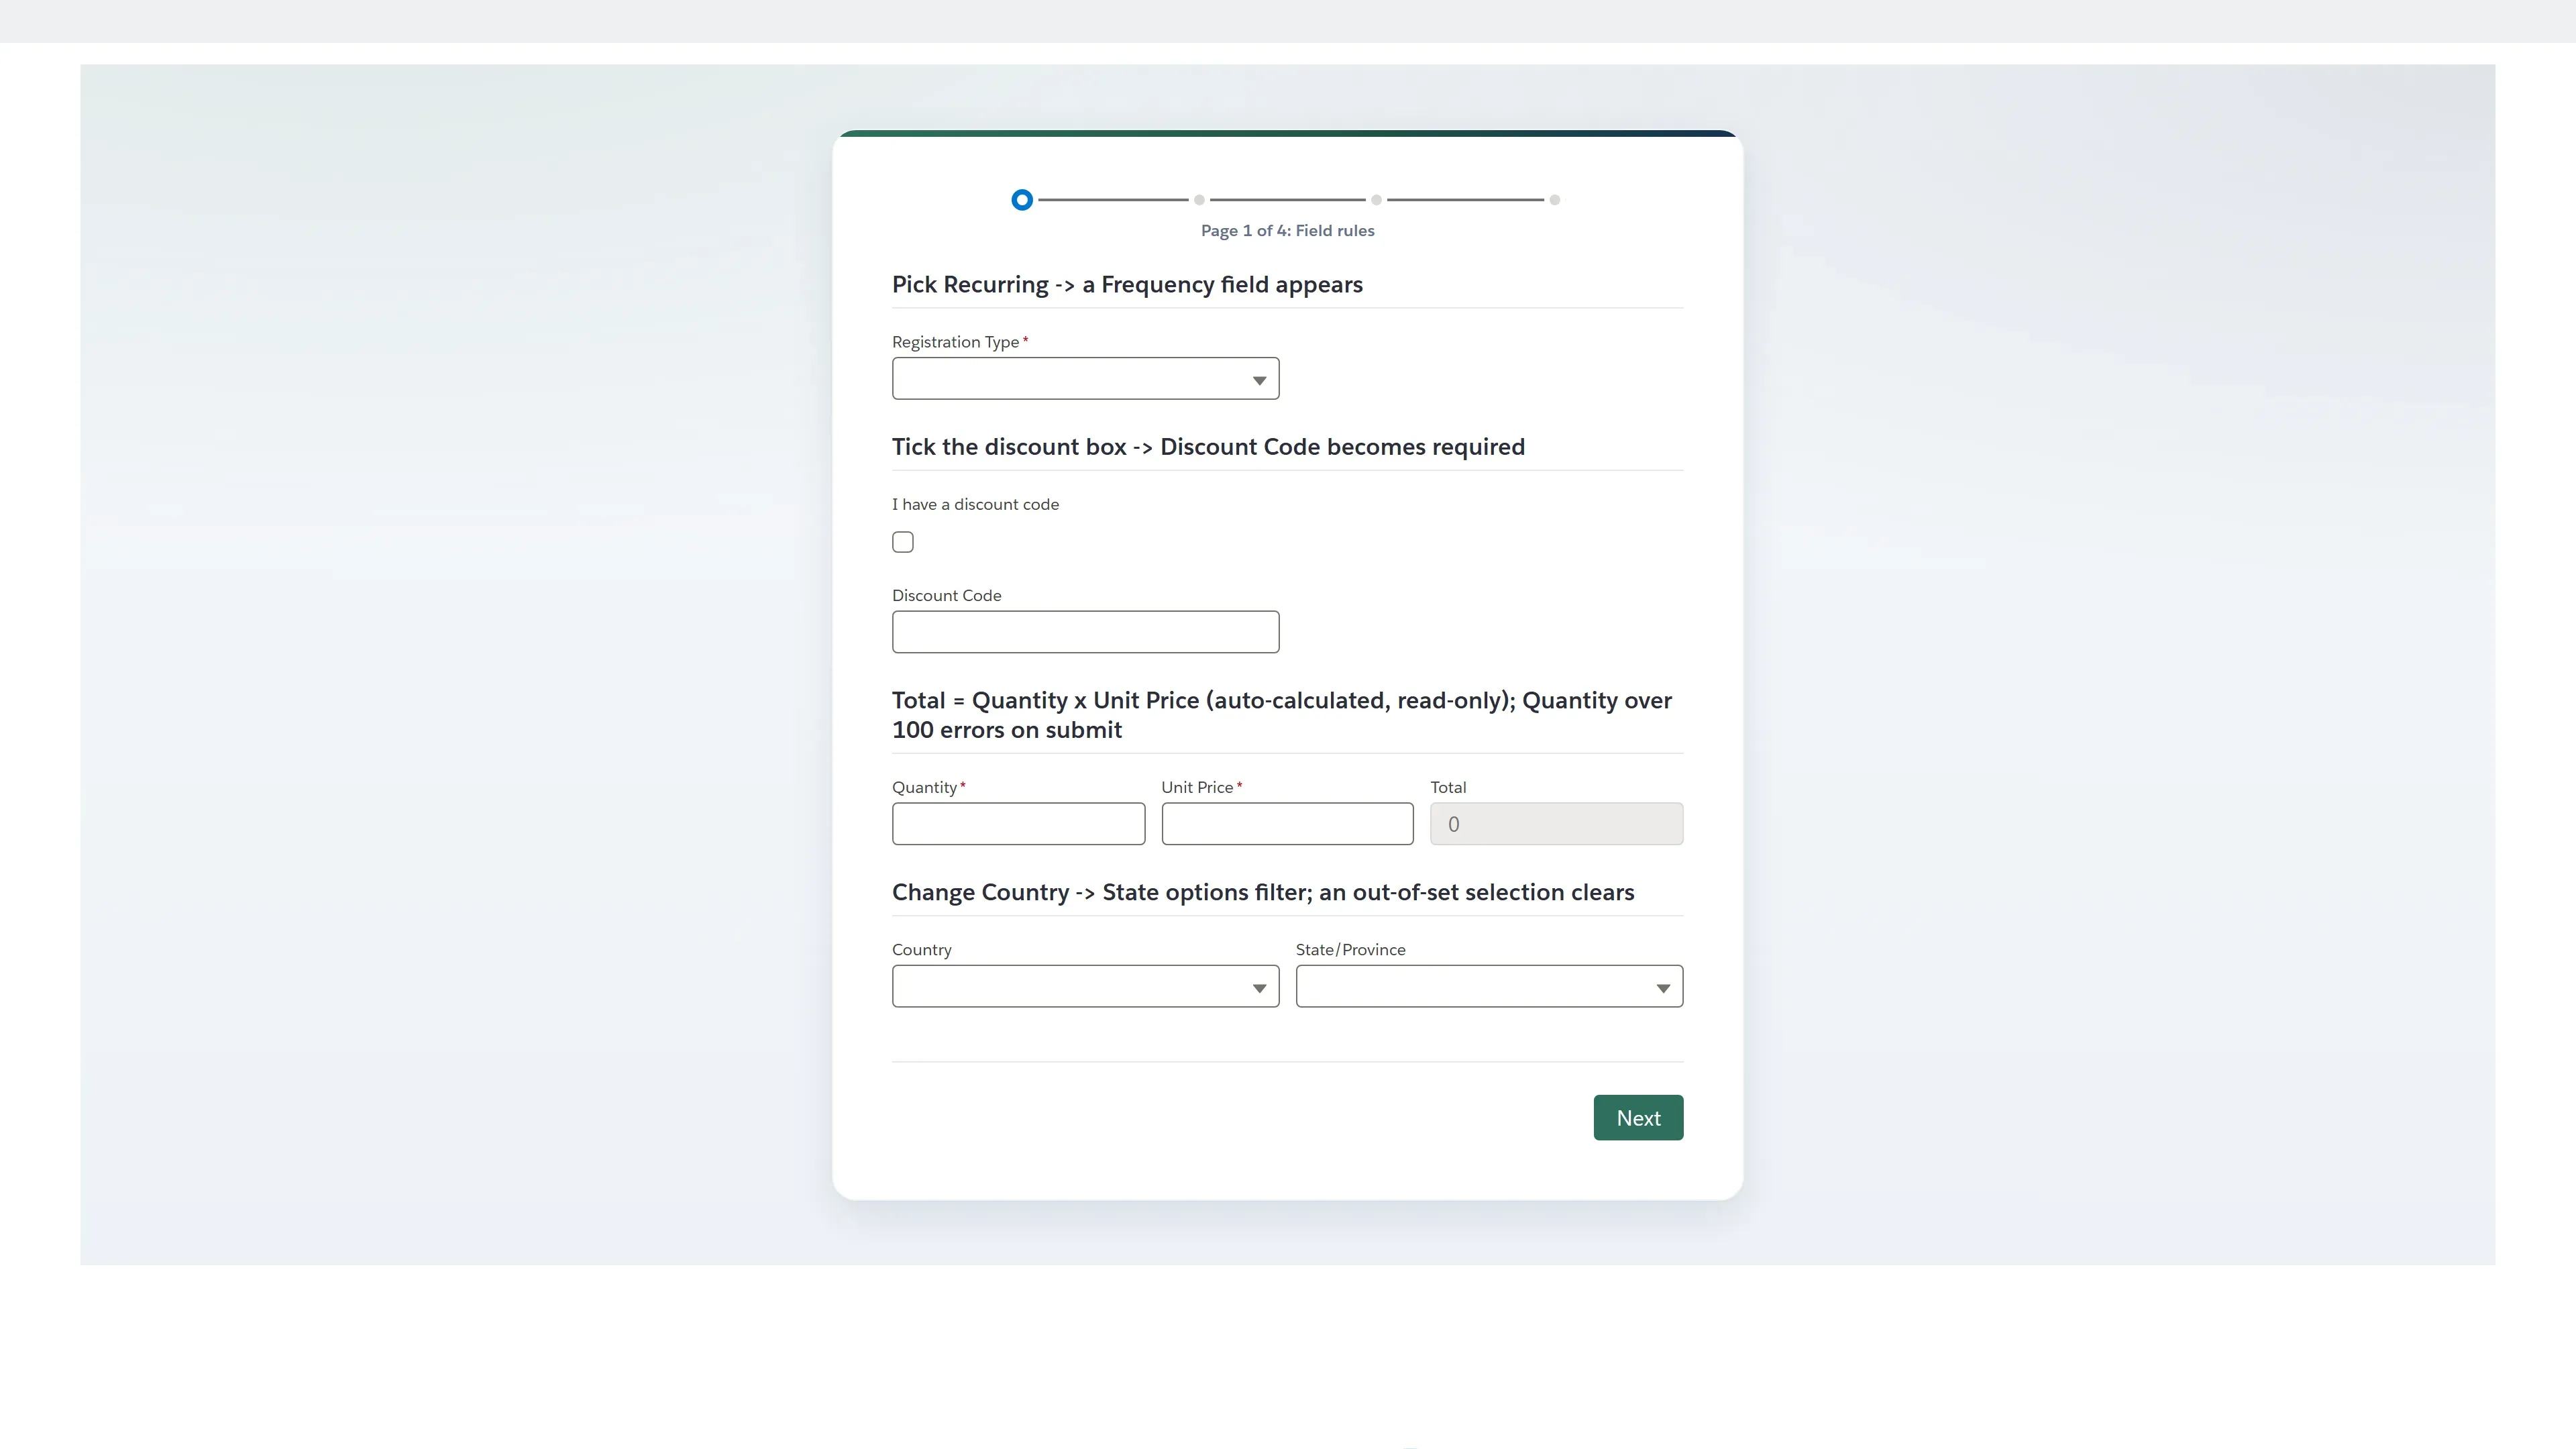
A form is only useful if it writes real records. In the mapping panel, pick the target object (a Contact, a Lead, or any custom object) and connect each form field to a Salesforce field. One form can write several related records at once: a parent and its children land together, in the right order, or not at all.